Setting up your Eego store is simple. You don’t need coding skills, design experience, or technical knowledge.
In this guide, you’ll learn how to go from zero to live store in under 10 minutes.
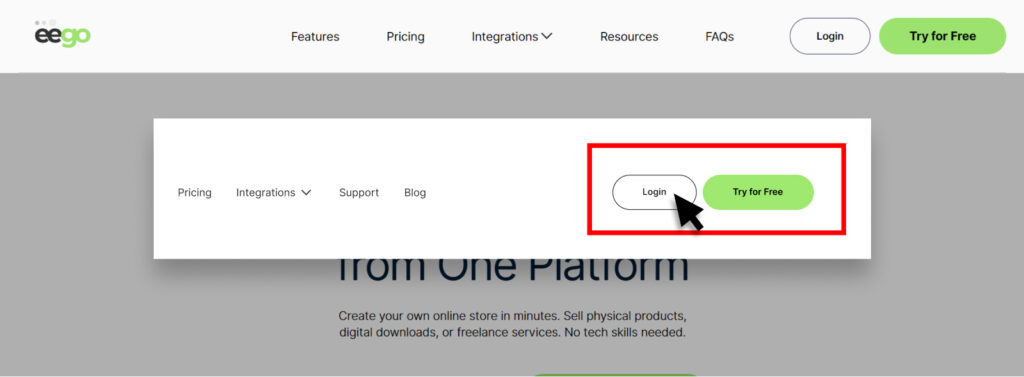
Step 1: Log Into Your Dashboard (1 Minute)
- Go to your Eego dashboard.
- Click Login.
- You’ll land on the Home Dashboard.
From here, you can:
- View store performance
- Manage products
- Track visitors
- Monitor orders
Step 2: Add Your First Product (3 Minutes)
Your store becomes live once you add a product.
How to create a product:
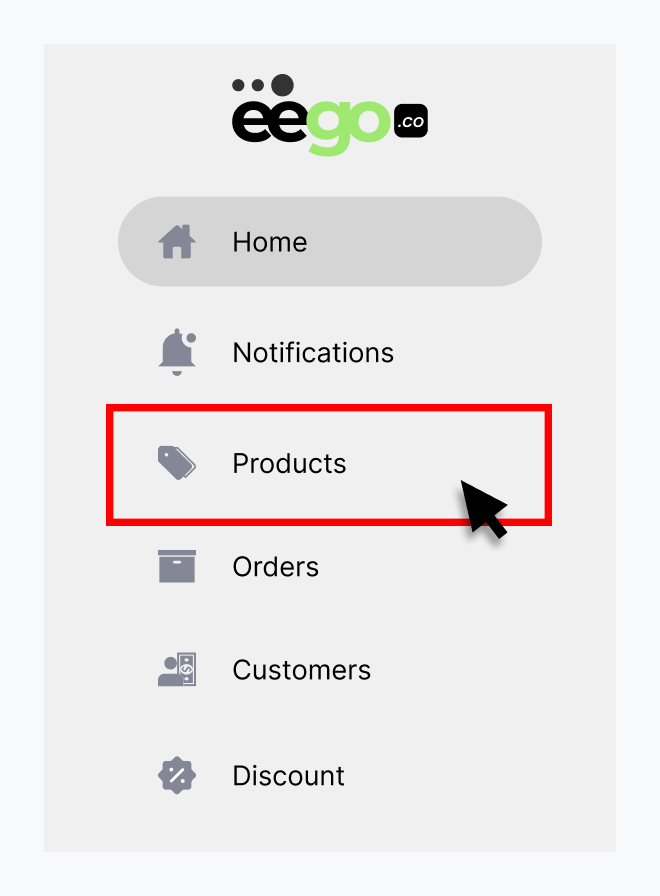
- Click Products in the left sidebar.
- Click + Add Product (top right)

- Enter your Product Name.
- Set your Price (or toggle Free if needed).
- Choose your Product Type:
- Digital Product
- Course / Masterclass
- Event / Tickets
- Services
- Click Create Product.
You now have a product created 🎉
Step 3: Add Product Details (3 Minutes)
To make your product ready for buyers:
Add a Description
- Explain what the customer will get.
- Highlight benefits.
- Use clear formatting.
Upload Files (For Digital Products)
- Upload your PDF, course, or downloadable file.
- Enable Instant Download After Purchase (recommended).
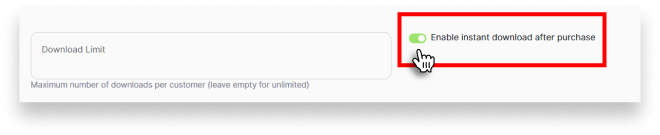
- Set download limits if necessary.
Set Product Visibility
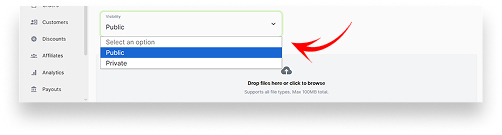
- Draft → Not visible to customers
- Public → Visible and ready for purchase
Click Update Product when done.
Step 4: Access Your Store Link (1 Minute)
- Click My Store (top right).
- Copy your store link.
- Share it anywhere:
- WhatsApp
- Instagram bio
- Twitter
- Email
- Facebook
Your store is now LIVE 🚀